
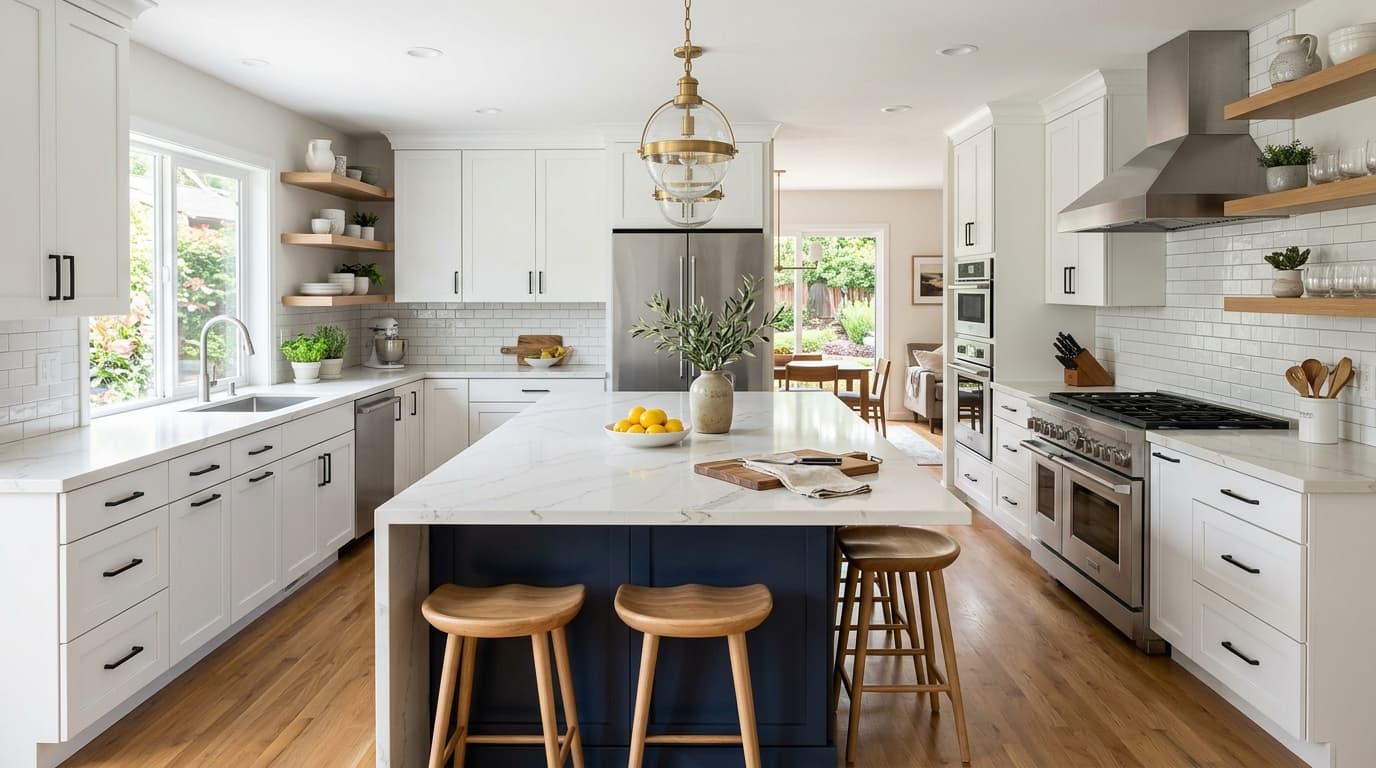
A kitchen remodel is the most disruptive home improvement you can live through. Unlike a bathroom, you can't "just use the other one" — you have one kitchen, and it's about to be disassembled. The people who hate their remodel experience are the ones who didn't know what was coming. The people who come out with their sanity intact — and a kitchen they love — are the ones who planned the disruption.
Here's the week-by-week reality.
Before week 1: Order everything with lead times
Most kitchen delays come from materials not arriving in time, not from contractor scheduling. Before demolition begins, confirm lead times on:
- Cabinets — 6-14 weeks for semi-custom, longer for custom
- Quartz / granite countertops — 3-6 weeks from template to install
- Appliances — especially anything panel-ready or built-in, often 8-12 weeks
- Specialty tile — backorder city
- Custom hood and range — sometimes 16+ weeks
The #1 mistake: Carrying down your old kitchen before the new cabinets are physically in your garage. Don't. Live with the old kitchen until the new one is on-site.
Week 1: Demolition
What happens: Crew protects floors and adjacent rooms with rosin paper and plastic, disconnects and removes appliances, tears out cabinets, removes drywall or tile as needed.
What's loud: Everything. It's the loudest week. Plan to be elsewhere 9-5.
What you need to have decided: Final layout. Electrical and plumbing changes are reviewed with the contractor before demolition. A small change after drywall is removed is cheap. A small change after cabinet install is $5,000+.
Week 2: Rough plumbing, rough electrical
What happens: Behind-the-walls work. New supply lines, drain lines, electrical circuits, lighting boxes, exhaust fan routing, can lights.
What's loud: Drilling through studs. Less than week 1.
What you need to have decided:
- Exact appliance models (so the electrician knows voltage/amperage and the plumber knows rough locations)
- Lighting layout (after this, moving a can light is patch-and-paint)
- Outlet locations on the island and perimeter
- Under-cabinet lighting: yes or no
Tip: Take photos of every wall after rough-in, before drywall goes up. You'll thank yourself the first time you need to find a stud or remember where a pipe runs.
Week 3: Insulation, drywall, paint prep
What happens: Insulation in exterior walls, drywall hung, taped, sanded, primed. Paint plan begins.
What's loud: Drywall sanding. Dust everywhere despite zip walls.
What you need to have decided: Paint colors (plural — typically field, accent, ceiling, trim). Buy sample pots and test on the actual wall; colors read very differently next to your cabinets.
Week 4: Cabinet install
What happens: Base and wall cabinets set, leveled, shimmed, secured. One of the highest-skill weeks of the project. A bad cabinet install undermines every subsequent step.
What's loud: Less noise, more focus. The crew doesn't want you underfoot.
What you need to have decided: Hardware locations (pulls/knobs) and hinge finish.
Week 5: Countertop template
What happens: The countertop fabricator comes to template. They will not template until cabinets are permanently installed. Then they leave with a digital template and return 1-2 weeks later for install.
What this means: There's a gap. The kitchen can't have a sink during this period. Have a plan — utility sink in the basement or a temporary basin.
What you need to have decided: Edge profile, seam location, sink model (real one, with sink template). Faucet holes and soap dispenser locations.
Week 6: Tile, flooring finish, paint
What happens: Backsplash tile, floor finish (if the floor wasn't done earlier), final paint, crown installation.
What's loud: Tile saw. Wet saw runs continuously during backsplash install.
What you need to have decided: Tile layout. Open boxes and check dye lots. Decide on grout color — grout is the unglamorous variable that ties it together or pulls it apart.
Week 7: Countertop install, plumbing trim, electrical trim, appliance install
What happens: Big week. Multiple trades in one day. Counters installed, sink mounted, faucet set, dishwasher and range connected, outlets and switches placed, under-cabinet lighting installed.
What's loud: Less than you'd think. Nonelectricians often work side by side.
What you need to have decided: Where every small appliance goes, which outlets are switch-controlled (under-cabinet lights, garbage disposal).
Week 8: Punch list
What happens: A walk-through with the contractor to identify small defects — a misaligned drawer, a scratched cabinet, a mis-touch wall. Most are fixed in 1-2 days.
What's loud: Blissful silence.
What you need to have decided: Final payment. Never release the final check until the punch list is closed in writing.
Living without a kitchen — survival tips
- Set up a temporary kitchen in the dining room: microwave, toaster oven, coffee maker, paper plates.
- Budget for takeout. Most families spend $1,500-3,000 extra on food during a remodel.
- Move the fridge to the garage, plugged in. Cold drinks and most leftovers become one walk away.
- Pre-cook and freeze meals for the first two weeks. Actual money saver.
- Don't run a dishwasher or sink in the laundry room — that's a flooded floor waiting to happen.
Need a qualified remodeling contractor?
Compare licensed and insured professionals in your local area, check ratings, and request free quotes.
| Feature | Ice Dams | Attic Condensation |
|---|---|---|
| Root Cause | Heat escaping attic melts snow on roof; meltwater refreezes at cold eaves. | Warm, humid house air leaks into attic and condenses on the cold roof deck. |
| Primary Location | Roof edges, eaves, gutters, and exterior wall top plates. | Underside of the roof decking, rafters, and throughout the attic insulation. |
| Key Visual Signs | Thick ridges of ice along the roofline; huge icicles; water pooling on the roof. | Frost or water droplets on roof decking; black mold/mildew; rusted nails; damp insulation. |
| Best Long-Term Fix | Add attic insulation, seal warm air leaks from the living area, and ensure proper eave/soffit ventilation. | Seal air leaks, ensure exhaust fans vent outside (not into attic), and balance attic ventilation. |
A kitchen remodel is one of the highest-ROI renovations — when done well. The difference between a project that finishes on week 8 and one that's still dragging at week 16 is almost always decisions made on time and materials ordered early. Be the week-8 homeowner.